Wednesday, September 21, 2011

Even The Best of Us Have THOSE Days!!

My sister recently emailed me a recipe for Crockpot refried beans!Being a HUGE fan of mexican food (both cooking and eating) of course I wanted to make them right away! On a side note, does anyone really like the smell of soaking/cooking pinto beans? I sure don't and Captain Hunk DEFINITELY doesn't! So on my first attempt to make the beans, I put everything in the crockpot and went to bed! We started smelling the beans in the middle of the night. At 7 am the next morning, Captain Hunk came home from PT and said "Those better be the BEST DANG beans I have ever tasted because the whole downstairs STINKS!" I went down to check on them and all of the water had cooked out of the Crockpot and the beans were burned to the sides! So if you think cooking pinto beans stinks then you should smell BURNED cooking pinto beans! It was BAD, to say the least!! But it didn't keep me from trying batch number two, which I immediately started!! Thank goodness I own two Crockpots!!  THis time they turned out FANTASTIC!! The only downside is I felt like I had to add more salt because they were a little bland! We still ate them though! Don't they look yummy?!
So I decided to make them again for my friends only this time I changed it up a bit and did green chiles instead of the jalepenos it originally called for. It made a WORLD of a difference in flavor. No extra salt or seasonings was necessary. I have the best friends who are always willing to be guinea pigs for my new creations!! So I decided to share a few recipes with you that I think went very yummy with the beans!! First here is the bean recipe:

Refried Beans

1 onion, peeled and halved
2 cups dry pinto beans, rinsed
½ fresh jalapeno or other hot pepper, seeded and chopped (I subbed this with two fresh chopped anaheims)
2 cloves garlic, minced
¾ teaspoons salt
½ teaspoon black pepper
One big pinch of cumin
6 cups water

Combine all ingredients in slow cooker.
       Cook on high for 8 hours or overnight while you are sleeping.
       Remove the bigger onion chunks and drain the excess liquid. If desired, save excess liquid until the final product is desired consistency. I HIGHLY recommend this!
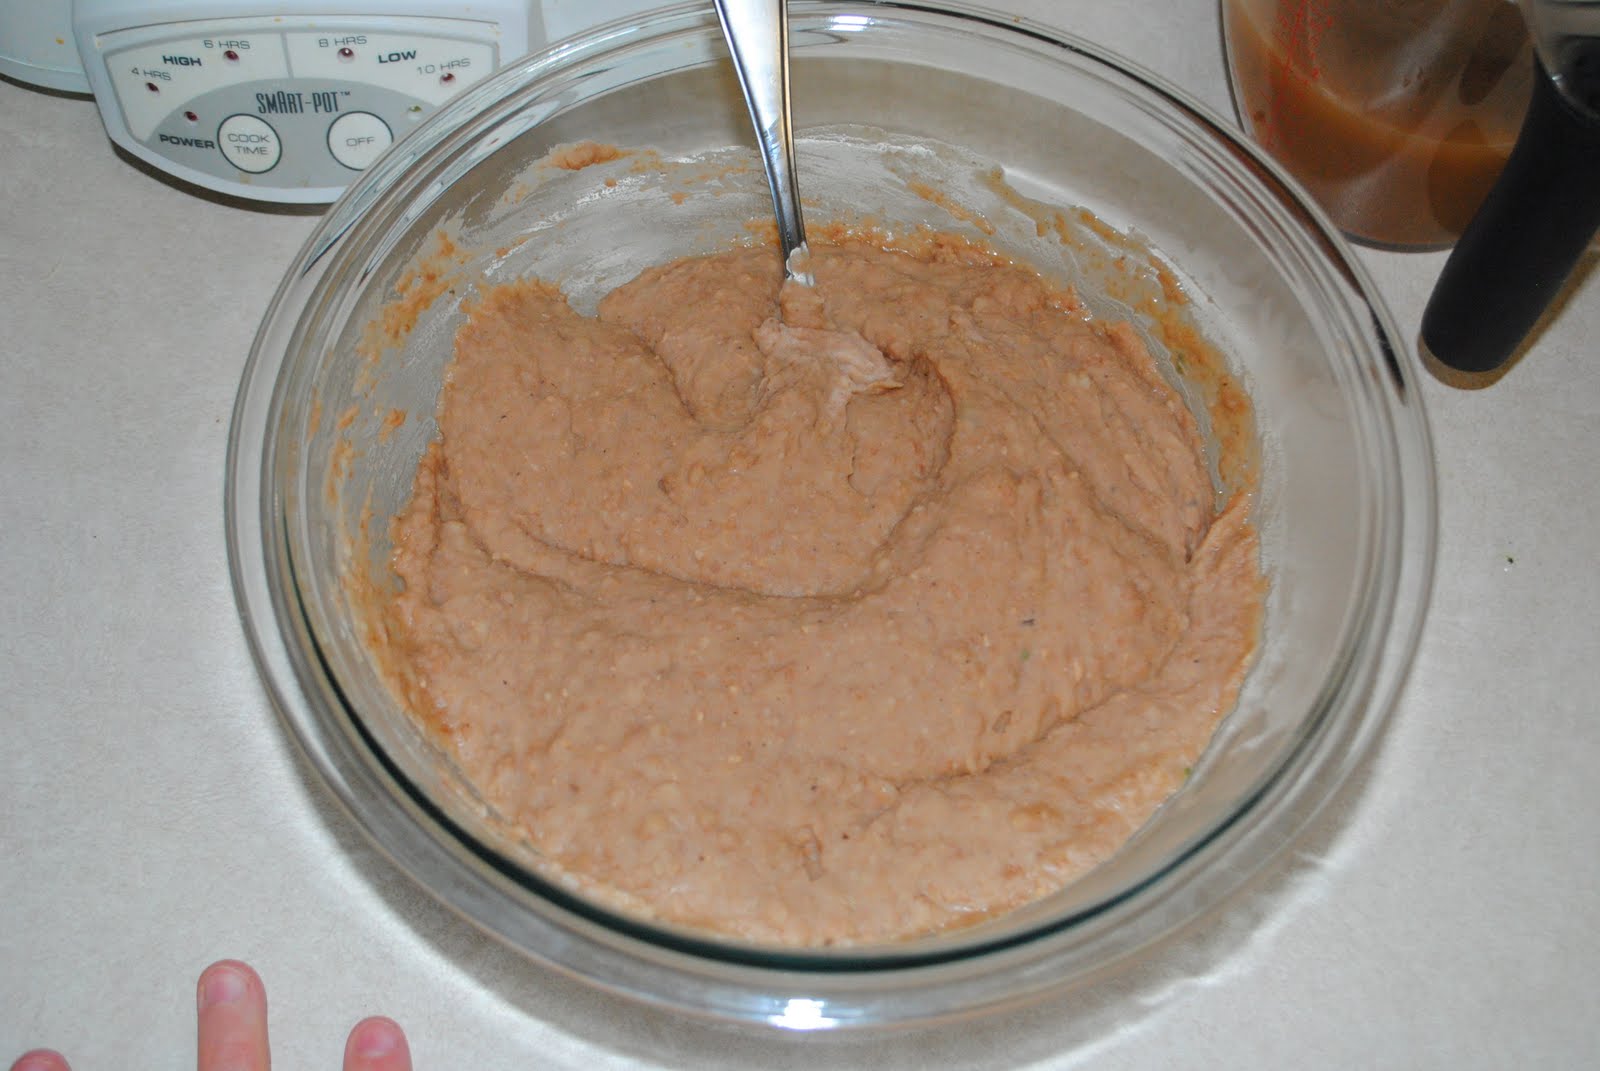
       Mash remaining beans with a potato masher and voila! You have homemade refried beans. I don't have a potato masher so I just put my beans in my Kitchen Ninja and pressed the pulse button until they were to my liking!! And by the way, Captain Hunk thought they were pretty dang delicious!!

Next I thought I would give you my salsa recipe!! Now before you get TOO excited, keep in mind this is my FRESH salsa recipe and not the one that many of you have tasted. That recipe is staying locked in my book until someone steals it from me or I die!! :) In my opinion though, I think I am starting to like this fresh one more and more!! Here are some of the ingredients ( as well as some for our next recipe) that I started with.

Salsa

1/2 bunch cilantro
2 lbs roma tomatoes
3 fresh Anaheim green chiles
1-2 fresh jalepenos
1 medium yellow onion
2 Tbl Lemon Juice
Salt
Pepper
Garlic Salt
Cayenne Pepper
Chile Powder


Put the tomatoes in  boiling water and boil for 5 to 10 minutes or until skins begin to come loose. Then place them in a cold water bath. Mean while, finely chop the onion. The chop the green chiles as well as the jalepenos. You may roast your green chiles if you like. I turned on my gas stove and did it that way! :)


Peel the skins off of the tomatoes and cut off stems. Then add the tomatoes and cilantro to the blender and blend until smooth.
Put all ingredients in a bowl. I don't really measure my spices so you can put in how much of each until it tastes to your liking! Also, if you like to add extra yummy stuff to your salsa, try adding a fresh chopped peach or mango. I made one jar of regular and one bowl of mango! The mango was my favorite!!


The next recipe I want to share with you I found on Pinterest. A FANTASTIC website with creative ideas! I can't really take credit for it other then the extra avocado I added!

Guacamole Salsa

1 lb. tomatillos (or more if you want it thinner)
1 jalapeno pepper (or more if you like it spicy)
1/3 bunch cilantro
1 thick slice of onion
1 garlic clove
1 avocado
1 tsp. salt

Peel and wash the tomatillos - they are usually found over by the cilantro & peppers, and have a husk on them. Cut them into quarters and put in the blender. Follow with the jalapeno, cilantro, onion, garlic, avocado & salt. Be sure to put the tomatillos in the bottom of the blender and not the avocado so it doesn't stick to the blade. You might have to help it start by shaking or using a mixer at first. But, once it gets going the juice from the tomatillos will help move the other ingredients around.

I decided to add an extra avocado because my tomatillos were very citrus(y). And you can never have TOO MUCH avocado!! :) It was so yummy and disappeared quickly!! Don't always judge things by the way they look! ENJOY!!


Photobucket

Wednesday, September 14, 2011

Green Chile Mashed Potatoes!

I have been doing HORRIBLE at staying on the task of blogging everyday! It just seems like it's that time of year when things start getting crazy! But the exciting news is I am about to announce our giveaway winner and I am giving you a recipe today!!

Green Chile Mashed Potatoes

6 large potatoes rinsed, peeled and chopped
3/4 cup milk
2 4 oz cans chopped green chiles
4 Tbls butter
4 oz cream cheese
1/2 cup sour cream
1/2 cup shredded cheddar
salt and pepper to taste

Boil potatoes until soft. Dump in a bowl and add milk. Blend until smooth. Add the rest of the ingredients and stir together. These are rough estimates of the amounts I use. You may add more or less of each ingredient depending on desired taste or thickness! Captain Hunk usualy adds triple the amount of butter and cream cheese! There are many ways to make this side dish, but this is MY way! This is a great complement to steaks or chicken on the grill!

Photobucket

Friday, September 9, 2011

1st Giveaway is FINALLY here!!


 So I know I originally said that I wasn't doing a giveaway until I reached 100 fans, BUT I decided that I already have ALOT of amazing fans! So let's do a giveaway NOW!! Woo Hoo!! Everybody loves cookies right?! What about cookies served in a hot pan, topped with ice cream and chocolate and caramel and...Ok, you get the picture!! Well my Family LOVES these cookies in a pan, also known as Skookies!! So I decided for this giveaway the prize would be This!!!  YEP!! All of that! Two pans, hot pads, a recipe book AND cookie mix!! Awesome right?! You know you want this to be yours!! So, here are the rules. Go to our Facebook Page. Click "Like" to become a fan. (I know a lot of you are already fans on the page.) Then promote "Jack's" page on your page and share with your friends!! Let's see how many NEW fans we can get!! Once you have promoted the page on your own, leave a comment or click Like under the post with THIS SPECIFIC BLOG! Then I will add your name to the drawing pool!! If you don't have a Facebook page then tell a friend about us verbally and leave me a comment on here so I can add you too! Tell your friends about the giveaway so they can have a chance too!! This is for ALL of my fans, no matter where you live! I will ship the prize directly to you!!! I will announce the winner on Wednesday Septmeber 14th! Thank you all for your support and GOOD LUCK!!!

Photobucket

Thursday, September 8, 2011

Farewell Mr. Hamilton!

Have you ever had an appliance that you just absolutely LOVED?! I do. Well, I have several, BUT, I have a Hamilton Beach hand mixer that I got for my wedding from my Aunt Lorrie 9 years ago! It came in a cool case with three different attatchments. I use this mixer for ALMOST everything. (The Kitchen Aid is used for bread doughs and whipping cream.) I can't even tell you how many dozens of cookies and bowls of Green Chile mashed potatos (sharing this recipe soon) we have been through together! More than I can count! Anyone who has been to my house in the last 9 years has probably seen me use this, or used it themselves. Just the other day I thought to myself "This mixer wants to last forever!" Well folks, I jinxed it! Just today I got him out to whip up some yummy cookies for our new neighbors and just as I was mixing in the chocolate chips Troop yelled "IT'S ON FIRE!!!!" He wasn't really on fire but he was smoking and then finally chugged his last little chug. Thankfully the cookies were already mixed. Out loud I said "What a sad day." Troop said "It's not a sad day! We get to eat cookies!" I love his optimism! So with that said, I have to say goodbye to my trusty hand mixer and begin the hunt for a new one. NOT COOL! So I decided in his honor I had probably better eat a few of these cookies instead of taking them ALL to the neighbors, since they were his last batch and all! If you know where I live, I have plenty to share!


Photobucket

Thursday, September 1, 2011

Chicken Pot Pie and Chocolate Chip Cookies!!!


I'm not going to lie! I use the Hershey's Chocolate Chip cookie recipe right off the back of the bags of chocolate chips!! It's my favorite of all of the ones I have tried. I am a chocolate chip snob and prefer Hershey's milk chocolate chips. Or the REALLY good kind from Bakers in Utah! (Thank you K!!) You can order from them here. I live in a place with very high elevation and my cookies always come out flat if I don't use enough flour. I have to add ALOT more to get my cookies nice and plump!

Chocolate Chip Cookies

1 cup butter
3/4 cup white sugar
3/4 cup brown sugar
1 tsp Vanilla
2 eggs
2 1/4 cup flour (3 1/2 cups for High Altitude)
1 tsp baking soda
1/2 tsp baking powder
1/2 tsp salt
2 cups chips (any flavor)

Soften (not melt) butter. Add sugars, vanilla and eggs. Mix well. Add dry ingredients. Mix well. If you are using the high altitude recipe your dough will start getting crumbly like this:


Don't fret! Keep mixing and you will come out with a nice moist dough like so:

Add the chips and mix well. Roll into 1 inch balls and place on cookie sheet. Don't roll them too big or you will end up with burned edges. Bake at 375 degrees for 8-9 minutes. I pull mine out before they are completely cooked through to help them stay soft! Store in an airtight container. Don't these look AMAZING?!?

This next recipe is one of my prized posessions!! I spent many hours coming up with and perfecting this recipe! I even have the original paper that I wrote all of my madness on! Check this out:

Homemade Chicken Pot Pie

1 lb chicken cubed
1 cup carrots chopped
1 cup frozen peas
1/2 cup celery
1/3 cup butter
1/3 cup onion chopped
1/3 cup flour
1/2 tsp salt
1/4 tsp pepper
1/4 tsp celery seed
1/8 tsp ground oregano
1/2 tsp garlic salt
2/3 cup milk
1 3/4 cups chicken broth

Finely chop all of the veggies:

Combine carrots, chicken, peas and celery in a big saucepan. Cover with water and bring to a boil. Boil for 15 minutes. Drain the water. Add the onions and butter. Saute until butter is melted. Combine flour, salt, pepper, celery seed, oregano and garlic salt in a bowl. add the milk. Whisk together until the flour is dissolved. Add the chicken broth. Stir again. Simmer until thick and creamy like so:

Pot Pie Crust

1 cup flour
2 tsp baking powder
2 Tbl butter 1/8 tsp salt
1/3 cup milk

Mix together flour, powder, and salt. Cut in the butter like so:

Cut the butter in using a pastry blender. Blend it in very well.

Add the milk and mix until the flour is all mixed in and the dough is soft.

Roll the dough out to about 1/8 inch thick. Using your ramiken dish, (The dish you will cook the pies in.) cut four round pieces. You will use these for the top of the crust. Using something smaller, cut four more for the bottom piece. after they are cut, roll them out a little bigger and thinner. PLace the bottome pieces in each dish.

Add the batter to each dish then top with the crust. Using your fingers, press the crust to the inside edge of the bowl.

Cut four small slits for breathing holes and bake at 425 degrees for 30 minutes or until crust is golden brown. Unfortunatley, I don't have pictures of the finished product because I made this for another Family tonight and took them over unbaked!

I promise your Family will love these! The individual dishes make them fun! This makes enough for four medium sized dishes. You can also bake it in an 8x8 baking dish and cut the crust to fit! My Family enjoys cottage cheese with ours!
Photobucket